The Client wanted a very unique story-and-a-half garage and work shop with an asymetrical footprint. The design parameters given required a complex roof system of unequal valleys and engineered timber assemblies.
Erected April 2013.
Click on images below to view at larger size.
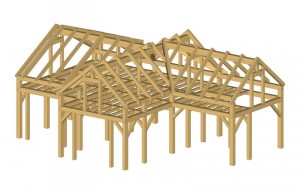
When the design was complete the frame appeared in our software like this
|

A load of fresh-cut oak timbers arrives from our sawmill.
|

Our crew lays out and cuts each timber based on an individual shop drawing.
|

Shop drawings like this one define every facet of each piece. There are about 140 shop drawings to capture the 238 pieces of this frame.
|
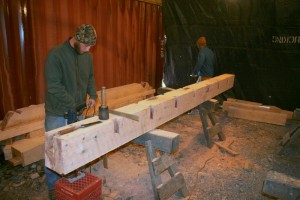
Cutting a large floor beam. The pockets along each edge will hold floor joists.
|
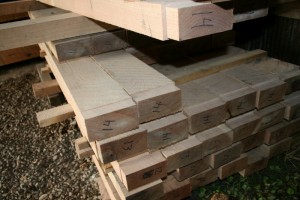
Stacks of floor joists with square-ruled ends waiting to drop into their bearing pockets.
|
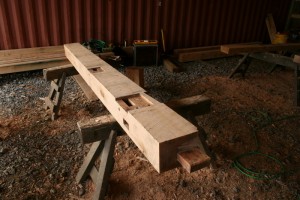
The design of this building calls for the floor bearing timbers and ties to intersect the posts on the same plane. That requires heavy bearing shoulders and "spline" joints.
|
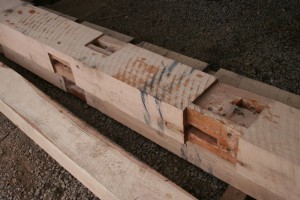
A closer view of the bearing shoulders and spline mortises in a post.
|
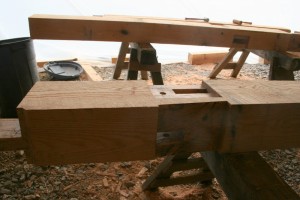
The spline tenons pass by each other, one above, one below.
|

As we finish cutting each timber we lightly sand it and then apply LandArk natural finishing oil. The oil helps slow the rate of drying to reduce checking in the timber, protects it from dirt, and looks fantastic!
|

At one location the frame must carry a large portion of the roof load right in the middle of a clear span. To handle this a keyed double-beam assembly was introduced to pick up the substantial load.
|
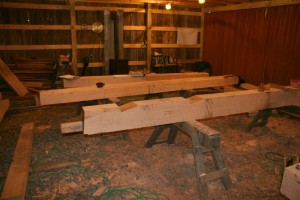
Here we're creating the lower of those two beams.
|

The angled key seats transmit forces from one timber into the next in the direction in which a wood beam is strongest.
|
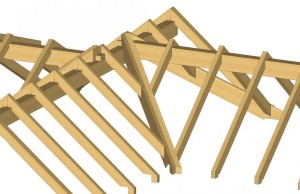
The most challenging aspect of designing and cutting this frame is the great valley rafters which give the roof its sophisticated character.
|
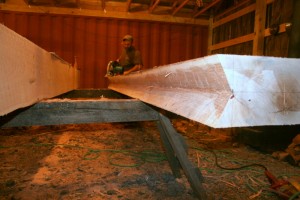
Cutting these begins with creating the valley cut in the top of the rafter itself. These planes represent the inner edges of the two roof planes which intersect at this rafter.
|
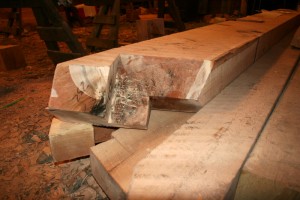
As complex as this appears, the facets will all end up as plumb or level cuts, parallel to or perpendicular to the major axes of the frame
|
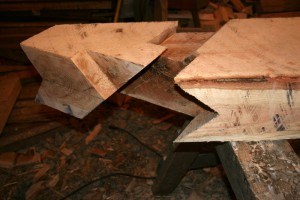
The bottom end is cut to sit on the square and level intersection of two large wall plate timbers.
|

The reverse view shows the square cut at the tip which will accept the roof overhang's fascia, as well as a jack rafter pocket which also lands on the plate passing underneath.
|

More jack rafter pockets, as seen from above.
|
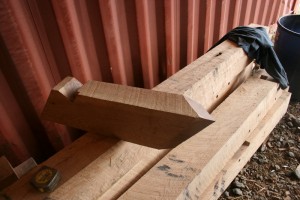
A short jack rafter with it's intersection cut to mate with the valley rafter.
|
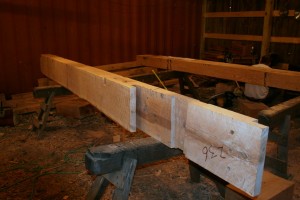
The ridge timbers are made quite strong as the rafters are suspended from it so it carries a great deal of the roof load. Timber cross section is 8" x 14".
|
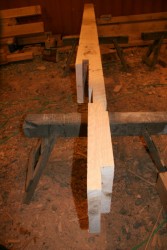
The primary building axis is long enough that we chose to splice the ridge timber with a double bladed scarf joint which incorporates a wedged key.
|

The journey of a thousand miles begins with the first step.
|

Because of site constraints we'll raise this piece-by-piece from front to back.
|
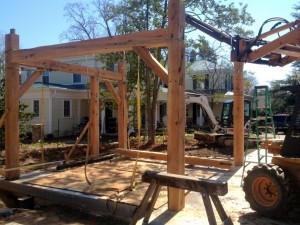
First "box" erected. Now as we raise the frame, each new piece is stabilized by the already standing sections.
|

First "box" front view.
|

Knee braces are probably the most distinctive feature of timber frame construction.
|

The front bent of the central bay erected.
|
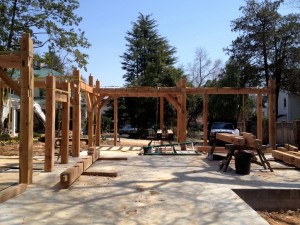
Front bent of the western bay erected.
|
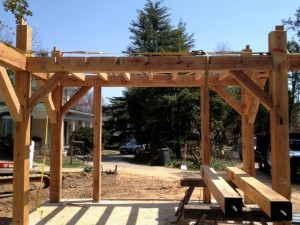
As we work back through the frame we can install the joists for the second floor.
|

Reverse view of 2nd floor framing.
|

Stepping back, the form of the building starts to take shape.
|

The mortise and tenon. The primary elements of traditional joinery.
|

Braces always act in pairs. These four braces will be opposed by four braces on the opposite side of the bent to ensure that all work in compression to keep the building plumb.
|
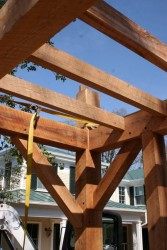
A rough-sawn oak floor will be fastened to these joists and they'll remain visible from below.
|
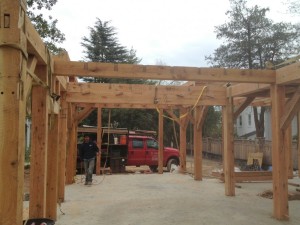
There's our double beam, keyed together, to equal 20" of solid oak. It has to carry a major portion of the roof load at the center of its span.
|
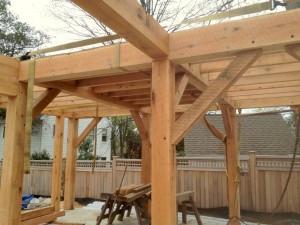
Keeping the 2nd floor framing compact was an important design goal of this building. We've extensively used spline joinery to be able to secure multiple large girts to a post at the same elevation.
|

Floor framing installed, and wall plate beyond.
|

Stop-Splayed, Undersquinted, and Wedged Scarf Joint in Long Plate Timber.
|
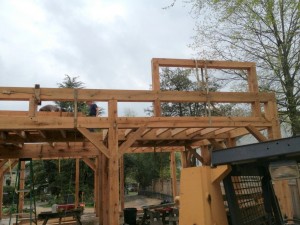
Framework to support dormer roof.
|

Setting in place the huge two-piece main ridge.
|

Opposite end of 8x14 inch main ridge.
|

Adding the intersecting ridges.
|

The first of the large valley rafters settles into place.
|
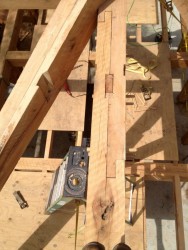
Top view of the bladed scarf joint in the main ridge.
|

Three of the four heavy valley rafters in place.
|

The valleys intersect the main ridge off-line from each other resulting in complex forces which drive many of the design choices of this frame.
|
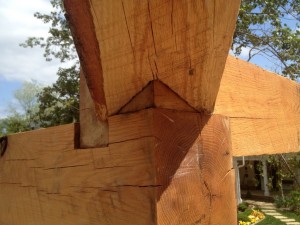
Timber framers breathe a sigh of relief when such a complicated piece lands so perfectly in its home.
|

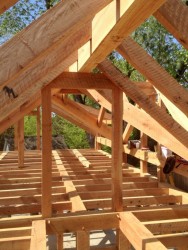
Finished shape starting to be visible.
|
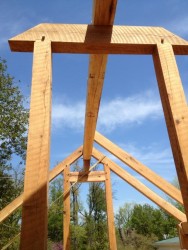
Heavy header helps carry ridge over stairwell. First common rafter in place.
|
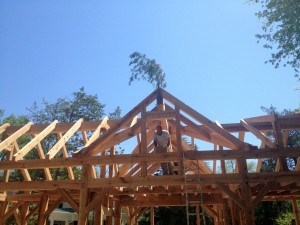
All common rafters installed -- the frame is complete!
|
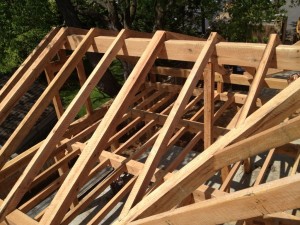
Common Rafters Installed -- West Wing
|

Common Rafters Installed -- East Wing
|

Valleys Intersecting Along Central Ridge
|

Dormer Framing At West Wing
|
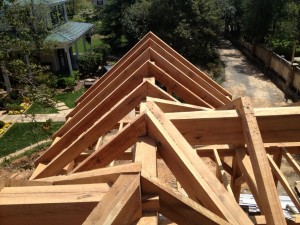
Front Gable -- View to South
|
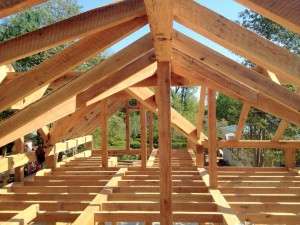
2nd Floor Interior View to East
|

2nd Floor Dormer Facing North
|

Stairway Entrance from 2nd Floor
|
Stairway View Toward West
|

East Wing and Front Gable
|

Finished Frame Ready for Enclosure
|


